
I set off early in the am to the distant land of Stockport. I had a car packed with mighty warriors, eager to sell their lives for victory, along with a long drive's supply of power ballads (I wanna know what love is!) and pockets full of my strange, foreign money (the most fun you can have in England is trying to buy things with Scottish money, I occasionally throw in monopoly money, just to see if they notice). This was my first foray to Blog Wars and I was looking forward to seeing how I got on. My last tournament gave me one win, one loss and one draw, I was eager to see how my fortune would change.
Unfortunately, due to the time constraints of the tournament, I was unable to take sufficient notes for a full battle report, but will give an overview of the battle with plenty of photos.
The mission was essentially kill points. You scored a number of blood points proportional to how much of the enemy army you destroyed (a unit or model reduced to 50% models or wounds/hull points was worth half) and a bonus for killing the special character, as well as the secondary objectives
 |
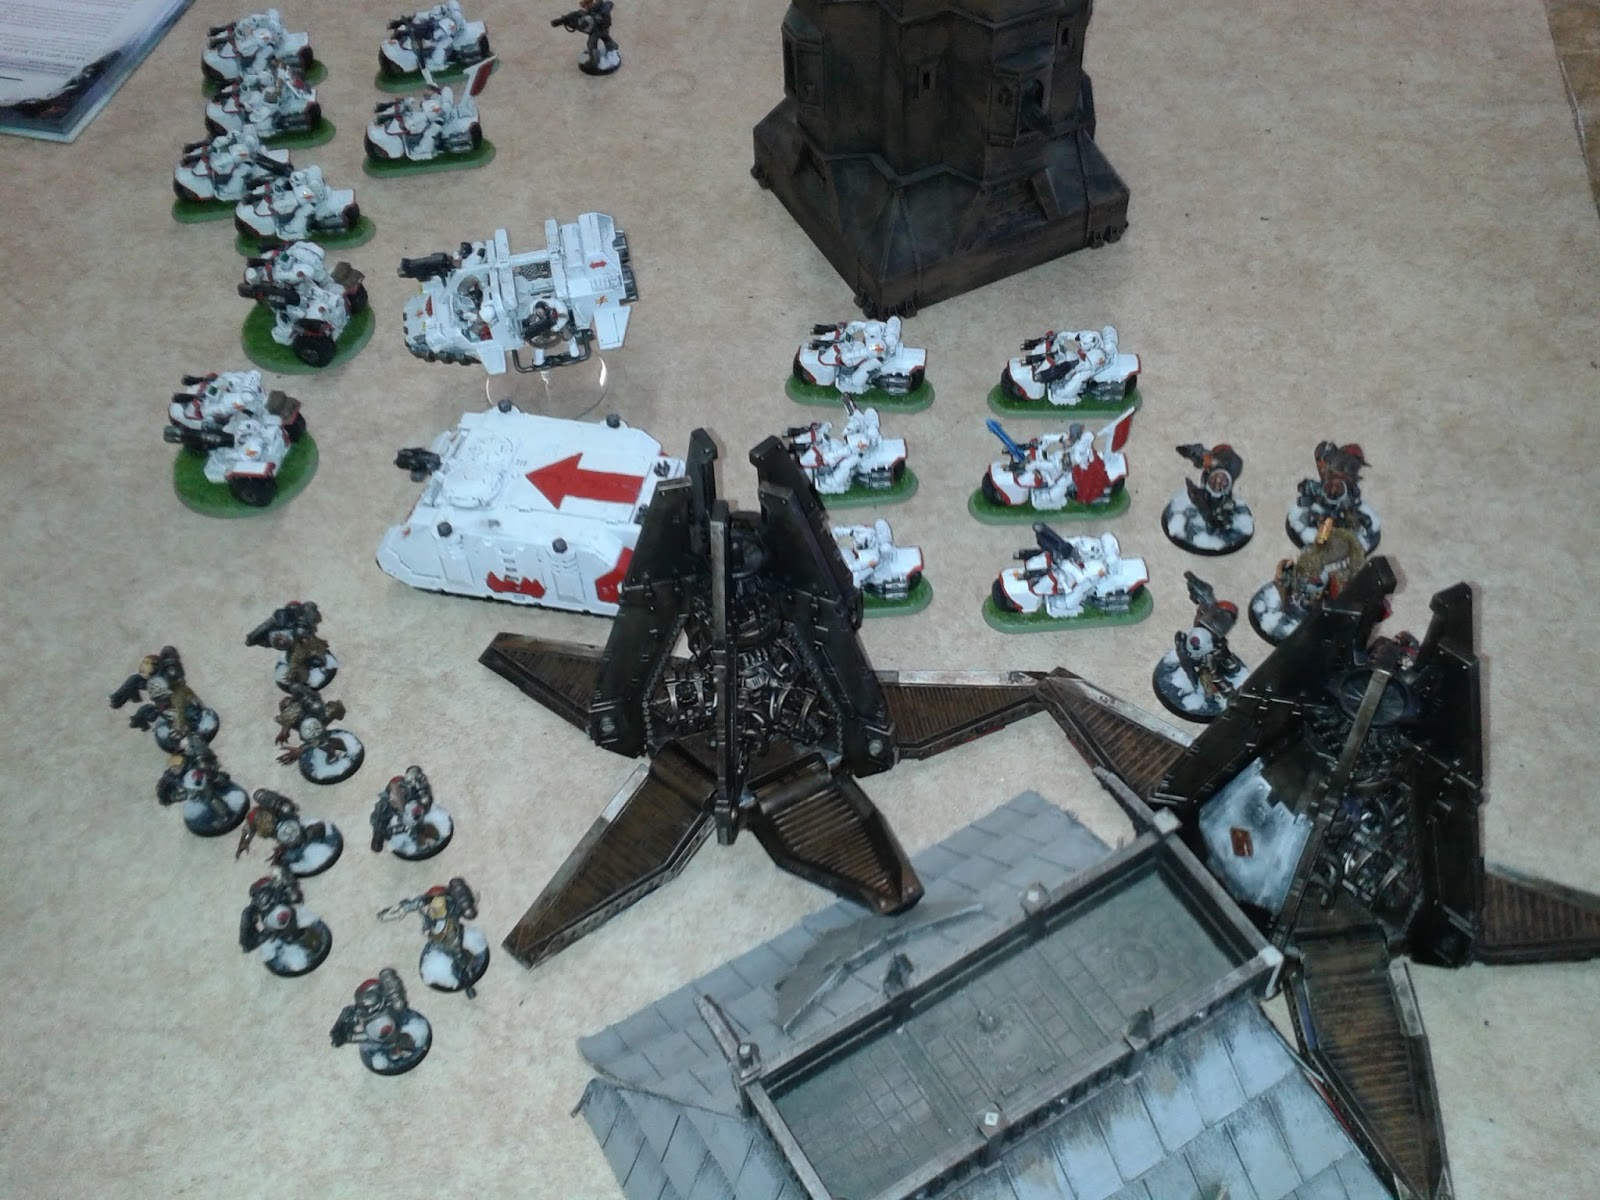
| Our forces clash. |
My first game was against Nathaniel (NafNaf from Objective Secured) and his thunderwolf cavalry heavy Space Wolves army (Blue in maps). His fantastic looking army (along with some lovely conversions) consisted of:
Two units of 5 thunderwolf cavalry- with wolves and storm shields (T1 and T2)
One Wolfguard battle leader on thunderwolf (WBL)
Two Iron Priests on Thunderwolf (IP1 and IP2)
Tactical squad (TM1) with two plasma guns in rhino (R)
Tactical squad (TM2) with two meltaguns and combi-melta in drop pod (DP2)
Dreadnought (D)- blizzard shield and great axe in drop pod (DP3)
Arjac Rockfist (A) and 4 terminators (T)- mix of thunder hammers, storm shields and combi-meltas in drop pod (DP1).


You can see the army and full load out here. I haven't played space wolves in a long time and have never played thunderwolf cavalry, but have heard how fast and tough they are. I wanted to keep out of combat as long as possible and hope my firepower could whittle down his army.
My army (white and red) was:
Chapter Master- Bike, power fist, shield eternal, auspex (CM)
Kor'sarro Khan on Moondakken (K)
Two units of 5 bikers- 2 grav guns, sergeant with meltabombs (B1 and B2)
5 bikers- 2 meltaguns, sergeant with meltabombs (B3)
10 Tactical marines (TM)- meltagun, sergeant with combi-melta and meltabombs in drop pod (DP)
10 Devastators (D1 and D2)- 4 missile launchers in Rhino (R)
3 Grav centurions (C)
Stormtalon (S)
5 Scouts (Sc)- sergeant with meltabombs in landspeeder storm (LS)
Two attack bikes with multimeltas (AB1 and AB2)
My own army can be found here. My warlord trait gave me 3 units and the warlord to infiltrate, very handy!
I won the roll for deployment and chose the side with the two bastions (to keep the wolves out). I also won the roll for deployment and chose to go first.
I combat squaded the devastators, putting the heavy weapons on top of a bastion and the other unit in the Rhino on my left. They were joined by two units of bikers and Khan. An attack bike was deployed in the middle. I held back the Chapter Master, Centurions, another bike squad and an attack bike to react to Nathaniel's deployment.
He deployed a Rhino in the ruins on his right, and one unit of cavalry on each side, an Iron Priest in one and the Iron Priest and Battle leader in the other. In response, I put the Centurions on top of the other Bastion and the bikers and attack bike on the right. For my scout moves, I moved the left hand units backwards and towards the middle of the board as a sort of pseudo-fast castle. Nathaniel failed to seize the initiative and I got first turn.
 |
| Deployment |
 |
| My army deploys. |
 |
| The lonely devastators. |
 |
| The Space Wolves deploy. |
 |
| My infiltrators and scout moves are made. |
TURN 1
 |
| White Scars Turn 1 |
In my first turn, the drop pod landed behind the ruins in the enemy deployment zone and the tactical marines get out behind the rhino. I moved some biker units forward to get their bolters just in range, so that the cavalry would need at least a 10" charge.
 |
| I advance very cautiously. |
 |
| The drop pod arrives (note: the enemy units behind my pod were not yet deployed). |
I fired at the Rhino with the tactical marines, but a combination of poor rolls and great cover saves from Nathaniel meant I caused no damage to it. Not a great start. The chapter master fired his orbital bombardment at the Wolf Leader's unit, despite causing 4 wounds, only a single wolf died as he made all his storm shield saves (a pity as a wound would have caused instant death). The devastators fired frag missiles at the Leader's unit, but could not penetrate the armour. The Centurions did better, killing two thunderwolves in the other unit. They failed their morale check and fell back (almost off the board, but not quite!).
 |
| The cavalry almost flee of the board! |
 |
| Space Wolves Turn 1. |
In Nathaniel's turn, the terminators and tactical squad arrived in their drop pod in my deployment zone. The Wolf Leader's thunderwolf unit advanced on my Chapter Master's squad, while the other advanced on the newly arrived tactical squad. The Rhino advanced out of the ruins. The shooting phase saw the loss of two bikers (one from Khan's unit, two from the meltagun unit) and a single tactical marine thanks to some awful rolling from Nathaniel and some great jink saves from me.
 |
| The drop pods arrive. |
 |
| Those tactical marines are in trouble. |
 |
| The wolves eye up the White Scars. |
In the assault phase, the Wolf Leader's unit failed a 9" charge on the Chapter Master's unit, despite the fleet re-roll. The other wolf unit charged the tactical marines, killing 8. I failed my morale and fell back towards my board edge.
 |
| The Thunderwolves enjoy a late breakfast. |
Not a great first turn for either of us. No-one got first strike (like first blood, but we can both score it in the first turn only), my tactical marines achieved nothing and his drop pod units didn't do much either.
TURN 2
 |
| White Scars turn 2. |
For my second turn, the bikes retreated from the thunderwolves and terminators. The scouts and attack bikes moved to attack the drop pod. The Stormtalon arrived and moved towards the 2nd cavalry unit.
 |
| My army retreats. |
 |
| The surviving tactical marines attack the enemy Rhino. |
In my shooting phase, the meltagun tactical marine immobilised the Rhino, allowing the sergeant to charge in and blow it up with meltabombs in my assault phase. The Centurions killed 9 of the newly arrived drop pod tactical marines and the meltagun bike squad finished off the lone survivor. Massed fire from the two bike squads, landspeeder, attack bikes and devastator squad killed 3 of the terminators and took Arjac to a single wound. The scouts assaulted the drop pod and the sergeant's meltabombs blew it up.
 |
| A few terminators down, a couple more to go! |
 |
| You boys need to walk from now on. |
 |
| Space Wolves Turn 2. |
Nathaniel advanced with the terminators on Khan's squad, while the Leader's thunderwolf unit advanced on the nearby scouts. The dreadnought arrived in its drop pod in front of the Devastators. The tactical squad from the Rhino killed one centurion with massed bolter and plasma fire. The Leader's thunderwolf squad attempted to charge the scouts, but again, Nathaniel failed an 8" charge, even with fleet re-rolls. Arjac and the single terminator charged Khan's bike squad. I lost four bikers for no wounds in return. Khan failed his morale check and fled off the board.
 |
| The last tactical marines are taken down. |
 |
| The Space Wolves advance. |
 |
| Arjac heads for Khan. |
 |
| The Dreadnought's pod arrives. |
Turn 2 finally saw some carnage. Khan and a bike squad were gone, but Nathaniel failed another charge. I managed to wipe out a tactical squad and drop pod as well as a few wolves and terminators.
TURN 3
 |
| White Scars Turn 3. |
The Stormtalon turned 90 degrees and headed for the Dreadnought. I advanced on the drop pod and tactical marines from the Rhino. My Rhino advanced towards the enemy board edge.
 |
| Bikers and tactical marines advance. |
 |
| The attack bike targets the drop pod, while the Stormtalon sets his sights on the Dreadnought. |
 |
| The Chapter Master opens fire on the terminators. |
In the shooting phase, the Chapter Master's squad fired at the terminators. The bolters caused two wounds, which Nathaniel promptly failed on 2+ saves, killing Arjac and the last terminator. The Centurions fired at the thunderwolf unit, the Wolf Battle leader failed two 3+ invulnerable saves and being left on 1 wound. The Stormtalon fired its assault cannon at the rear of the dreadnought, destroying it. The bikers and tactical marines from the Rhino managed to kill 6 tactical marines, the bikes killing one more in assault. I hit and run out to try and escape the thunderwolves, but don't move far enough. The scouts destroy the other drop pod with meltabombs.
 |
| Fancy shooting and assault reduces the space wolves to one tactical marine. |
 |
| The attack bike assaults the drop pod. |
 |
| The terminators are destroyed. |
 |
| Space Wolves Turn 3. |
In Nathaniel's turn, the two wolf units advanced on my two bike squads. Shooting caused no damage. In the assault phase, the Wolf Leader's unit finally made a charge on the Chapter Master's unit. I issued a challenge, hoping to take his last wound. Unfortunately, a combination of poor rolls from me and invulnerable saves from Nathaniel meant the Wolf Leader survived. The rest of the bikers were wiped out by the Cavalry and the Chapter Master took 2 wounds. Again, I failed my morale check and fled off the board. The other thunderwolf unit assaulted the meltagun bikers and wiped them out (the map has some errors at this point).
 |
| The thunderwolves annihilate the Chapter Master's squad. |
 |
| The cavalry wipes out the bikers |
Turn 3 was a big shift. My shooting had reduced Nathaniel's army to two unit of thunderwolves (one below half strength and one close), a few tactical marines and a drop pod. They were still a threat, but there were few left.
His wolf charge had killed my warlord and my remaining bikers, a lot of points in one turn. Things were incredibly close!
TURN 4
 |
| White Scars Turn 4. The bikers (B3) are dead already. |
I fired most of my army at the two thunderwolf units and succeeded in killing one in each unit (leaving one thunderwolf and Iron priest in one unit and the Leader, Iron Priest and 3 thunderwolves in the other). One attack bike tries to go after the drop pod the Dreadnought was in, taking a hull point in the shooting phase and failing to finish it off in assault.
 |
| Space Wolves Turn 4. The thunderwolf assault on the bikers was last turn. This turn they assaulted the Rhino. |
In Nathaniel's turn, the Iron Priest split off from the Leader's unit to go after an attack bike, while the Leader's unit advanced on the other attack bike. The second thunderwolf unit advanced on the Rhino.
The Leader's unit charged the attack bike and killed it, while the other wolf unit destroyed the Rhino.
 |
| The Iron Priest destroys the Rhino. |
 |
| The remains of the Devastators. |
 |
| The Cavalry advance on the attack bike. |
TURN 5
 |
| White Scars Turn 5. The Rhino is gone, but the Devastators inside remain. |
In my turn, my shooting finally managed to destroy one thunderwolf unit and the Iron Priest with them. The attack bike killed the drop pod and I destroyed two of the tactical marines, leaving one member remaining. I moved the rest of my mobile units as far away from the Leader's unit as possible.
 |
| Space Wolves Turn 5. |
With only a single marine and some cavalry left, Nathaniel tried to hide the tactical marine and moved towards the remaining attack bike with his Wolf Leader, who then killed it in combat.
Turn 5 was exceedingly close. I had a single marine to kill to get full points for the unit and needed to kill one more thunderwolf to get half points for the last unit.
TURN 6
 |
| White Scars Turn 6. |
I fired at the lone tactical marine and finally managed to kill him. The rest of the army fires at the last enemy unit. Fortunately, I manage to kill one to take them below half strength. I remember to leave my flyer on the board so it does not count as destroyed.
With nothing in range of his thunderwolves, Nathaniel can't do anything this turn, so the game ended.
 |
| Space Wolves Turn 6. |
 |
| End of the game- all that remains of Nathaniel's Space Wolves. |
 |
| My vehicles survive. |
He had a damaged, albeit very powerful and expensive unit left and I have a few squads remaining.
We total up the victory points, I have killed 1507 pts (inc. 100 pt special character bonus) and got 1 secondary (linebreaker with my drop pod), Nathaniel got 1440 pts (with 100 pt bonus for killing Khan) and 1 secondary (slay the warlord). Only 67 pts separate us, a win for me (barely!).
Thanks to Nathaniel for an amazing game, it could have easily gone either way. We both had some horrendous luck; my tactical squad did nothing first turn and my characters could do nothing in combat. Nathaniel had some terrible saves and could not seem to make a charge, despite getting fleet re-rolls!
Overall, I liked how I played the game. My winning of the deployment zone and first turn was crucial. I was able to get the side with both bastions and was able to get an extra turn of shooting before the units got too close. The warlord trait also helped as it allowed me to deploy the centurions in the other bastion (it was half way in my deployment zone) and allowed me to hold back units to counter his placement. I was then able to play cat and mouse with the Wolves and avoid unfavourable combats for a lot of the game, although not all of it, the thunderwolves were brutal when they finally connected!
I don't think Nathaniel made any tactical errors, he just got really unlucky with some rolls; the thunderwolves falling back in the first turn, all the failed charges and the failed saves on the terminators stand out as particularly important.
It was a great start to the day and a fantastic opponent to play against. Nathaniel was great company, especially when we were both having atrocious luck with the dice rolling.
Sounds bloody brilliant that game :) look forward to hearing if others and hopefully playing either of you at BW 10!
ReplyDeleteIt was a fantastic game, really great way to start off the tournament (I was afraid of getting absolutely crushed in the first game, depending on my opponent).
DeleteWe both had horrendous luck throughout with failed charges, failed saves, failed morale and poor dice rolls for shooting, and we couldn't stop laughing about it.
It really did come down to the last turn, if I hadn't taken the second thunderwolf unit below half strength, I would have lost the game.
I definitely want to go to blog wars 10, it's a brilliant tournament, very friendly atmosphere and some great opponents.
Sounds a perfect game, I love games where you share in each others woes and you cheer on your opponent to make those rolls that against all odds they fail!
DeleteAwesome write up dude :)
ReplyDeleteWhat program did you use to do your maps? I did not get and photos of my second and third games so I will prob do those instead
Cheers NafNaf, feel free to steal any photos or maps for your own write up (as long as you plug my write up on your way more popular blog ;) ).
DeleteI used a program called Battle Chronicler, it's available free online http://battlechronicler.com/
Thanks :). I will try it out tonight.
DeleteI will use your maps and of course I will linky back to you :)
This comment has been removed by a blog administrator.
ReplyDelete