
This guide will show you how to magnetise the upgrade options for the Space Marine Impulsor, allowing you to equip it with either Ironhail Skytalon array, Bellicatus Missile Array, Shield Dome or Orbital Comms array.

To magnetise this kit, you will need:


To magnetise this kit, you will need:
- 3 Large magnets (I use 5 mm)
- 9 small magnets (I use 2 mm)
- Pin vice or drill the size of both magnets
- Spare plastic sprue (leftover parts of the model kit)
- Other standard hobby supplies (superglue, knife, etc).
Assembling the model
All of the magnetising points used in this guide are for section 59 of the model; the extra part of the hull that attaches to fit the different upgrade options. As such, you can pretty much assemble most of the model without having to worry about the magnets (parts 1-3 of the assembly instructions).
Step 1- Hull Section
Drill a 5 mm hole in the centre circle section of part 59 (or a hole large enough for your magnet of choice).

Glue a piece of sprue over the hole to hold the magnet in place.
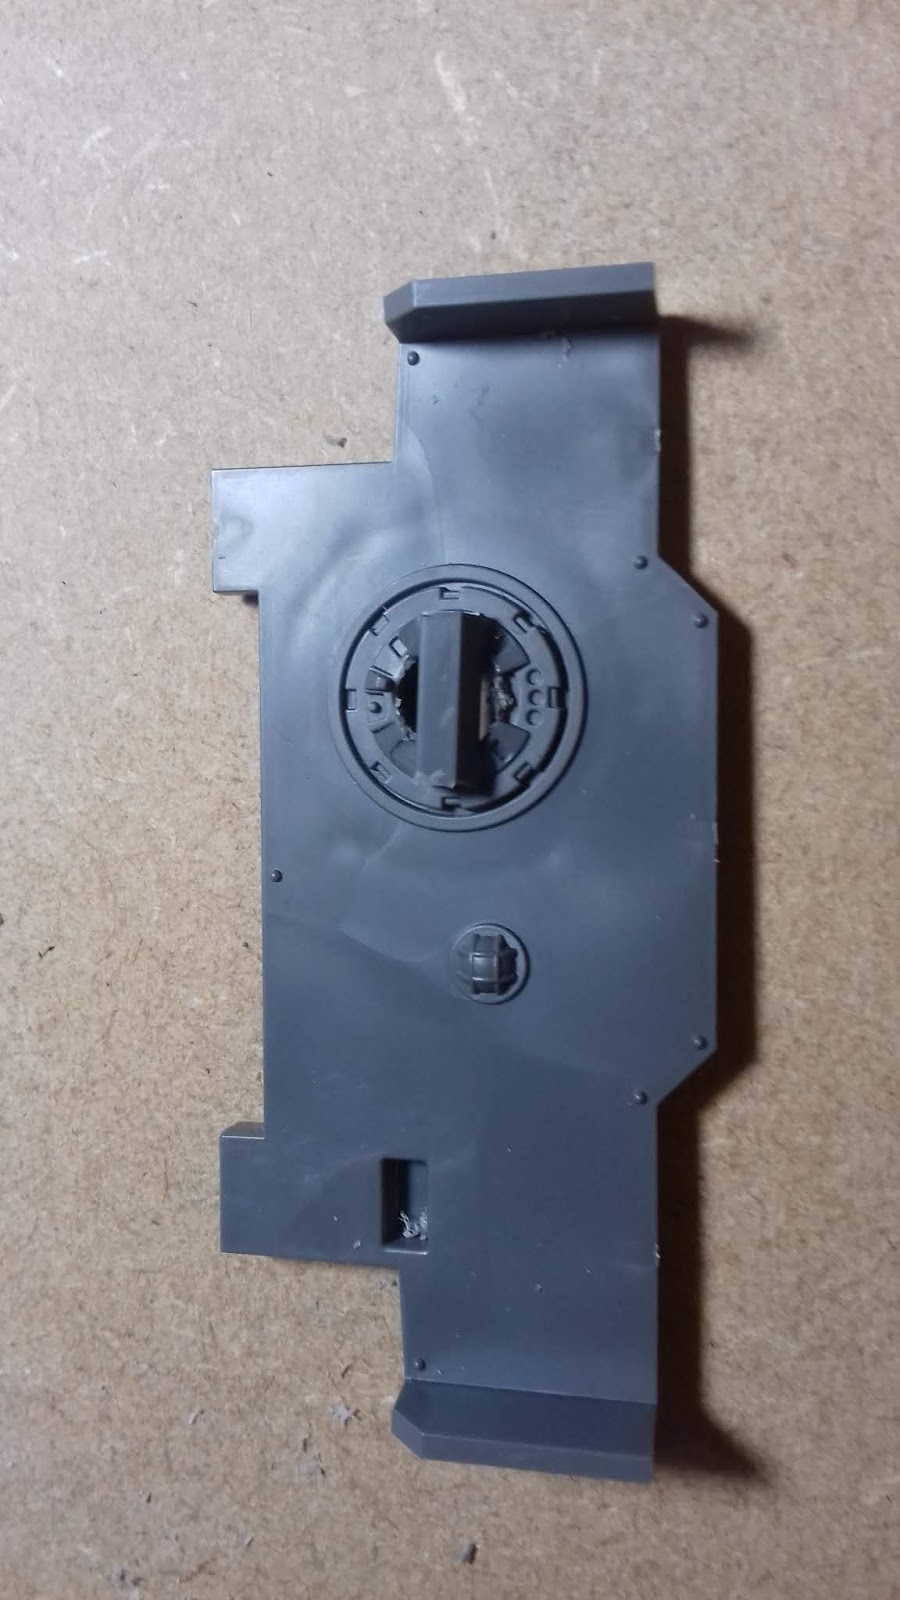
Glue a magnet in place on top of the hull section.

Step 2- Skytalon/Missile Array Section
Cut a piece of sprue long enough to fit in the missile launcher casing (part 65). Drill two holes for the small magnets (roughly a quarter of the way in on each side) and glue in two magnets.

Glue the piece of sprue into the weapons casing (part 65) so that it is flush with the end of the casing (the side with the eagle on it). In the picture below, I have attached two extra magnets to the magnets glued into the sprue so that they stick out of the casing.

You can assemble the rest of the casing (parts 64 and 63 or 67). You can also affix the casing base (part 77).

Glue two magnets into position on the missile pod (part 61) and on the Ironhail plate (part 62) so that they align with the magnets on the sprue and magnetise to these sections.
I find the easiest way to do this is to place a second magnet on the sprue magnet and paint the end of the magnet to be glued. Before the paint is dry, put the required section in contact to transfer the paint. Once removed, you can see where the magnets should be glued.


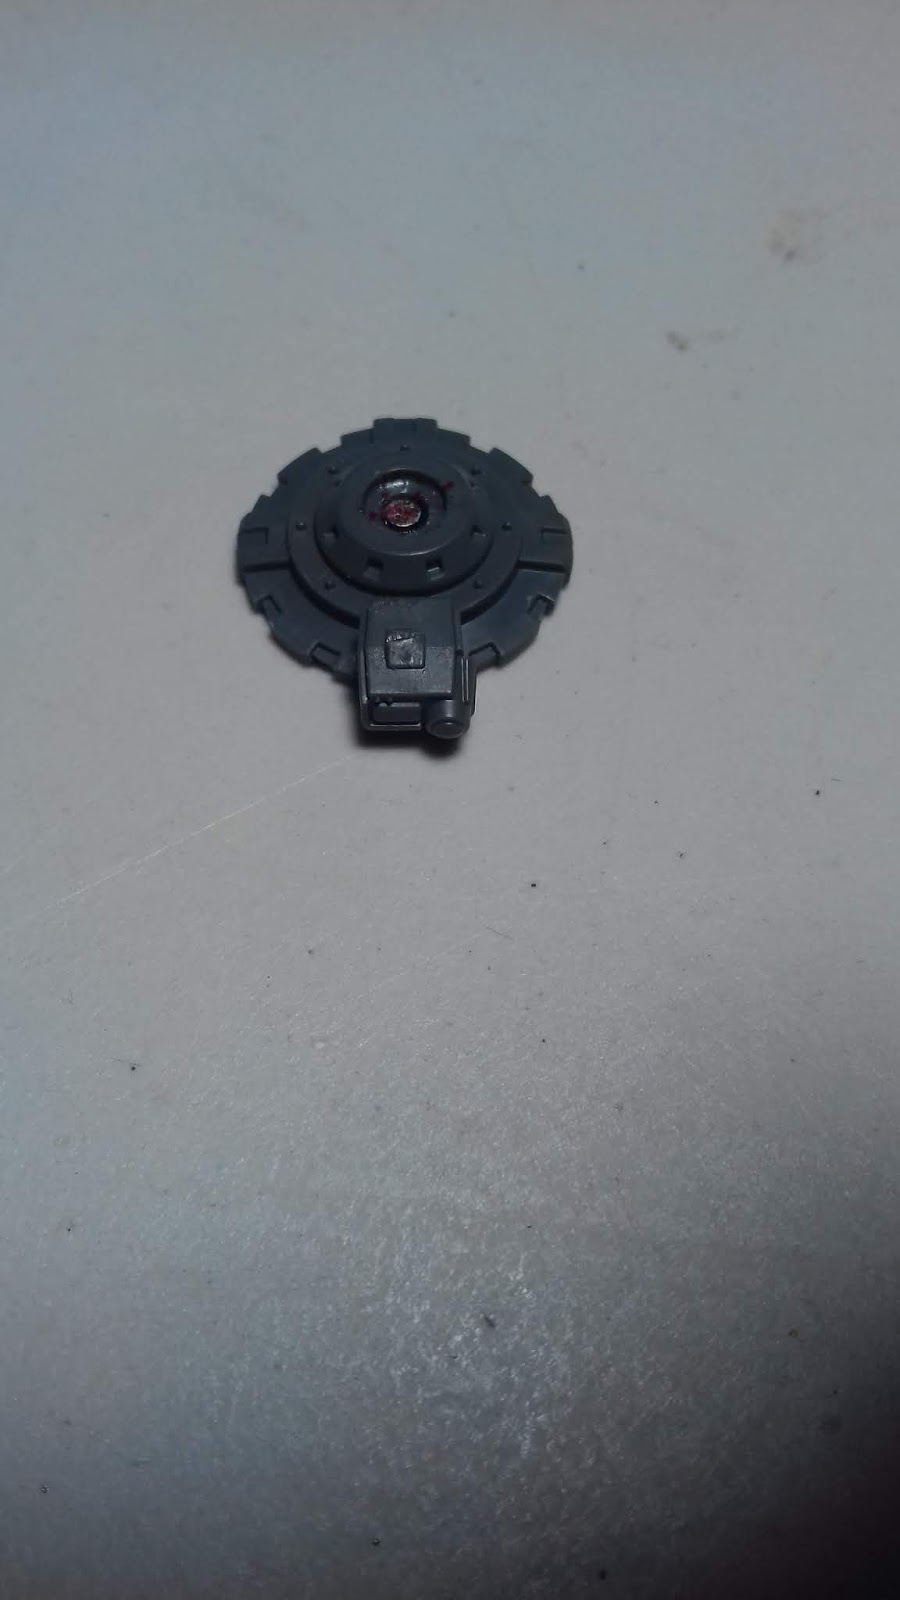
Part 3- Magnetising the base
Fill in the missile pod base with green stuff (part 77). Place a second large magnet on the hull section magnet (part 59), then press in the base section (part 77). This should leave an indentation on the base section as to where the magnet should fit. Trim off any excess green stuff that is no longer flush with the bottom of the base section.
Allow the green stuff to dry fully, then glue the magnet in place (ensure that you glue it right side down so that it attracts to the magnet in the hull section). You can do the same thing to the shield dome base plate (part 76) at this stage if you wish.


Part 4- Shield Dome/Comms Array Section
Add some green stuff to the hole on the top of the base plate (part 76), then glue a small magnet to the top of the hole as shown below.

I added a spare piece of plastic onto the top of the shield dome base made from a spare sensor from the Infiltrator kit. The reason for this is that it is quite hard to remove the shield dome base plate from the hull section when it is in place. The extra piece of plastic provides a nice handle for easier removal. The Missile pod section is much easier to remove, so didn't need any additional handle. You can use any spare kit part that looks like it will fit.

Assemble the shield dome section (parts 69, 70-73), then glue a magnet onto the bottom of the plate.


Cut off the protruding plastic part of the comms array (part 78) and drill a hole for a small magnet to fit in. Glue a small magnet in place.

Completed Model
With that, the model is now complete. I didn't magnetise the aerial for the comms array (part 75), as they fits in the section quite nicely and can be easily put in or removed.
The model should now be magnetised to have all the upgrade options available for use during your games.
When undercoating the model, I use bluetac to shield the magnets from the paint. This can be removed once you are painting the model, or when you have finished painting it.


Great guide, thanks!
ReplyDeleteHave you used it on the table yet? How does it handle?
Got my first game with it tonight. Testing it out for a tournament list to give me some added mobility for my Primaris units.
DeleteSt Andrews Wargaming: How To Magnetise The Space Marine Impulsor >>>>> Download Now
Delete>>>>> Download Full
St Andrews Wargaming: How To Magnetise The Space Marine Impulsor >>>>> Download LINK
>>>>> Download Now
St Andrews Wargaming: How To Magnetise The Space Marine Impulsor >>>>> Download Full
>>>>> Download LINK hF
Great guide thanks mate. Looks simple enough to try. Cheers
ReplyDeleteVery helpful, thanks for sharing!
ReplyDeleteSt Andrews Wargaming: How To Magnetise The Space Marine Impulsor >>>>> Download Now
ReplyDelete>>>>> Download Full
St Andrews Wargaming: How To Magnetise The Space Marine Impulsor >>>>> Download LINK
>>>>> Download Now
St Andrews Wargaming: How To Magnetise The Space Marine Impulsor >>>>> Download Full
>>>>> Download LINK
Loove this
ReplyDelete