
Yesterday, I took you through the process of creating your own battle report maps using Battle Chronicler. Today, I will take you through the process of importing your own terrain into the maps to make them a bit more accurate.
Creating the PNG
In order to use your terrain images in Battle Chronicler, you must first take some photos of your terrain. The best way to do this is to take an overhead image of each terrain piece.
The easiest way to do this is to take a photo on a black background from above (the underside of a gaming mat is perfect for this). This is not ideal in every situation, especially at games at tournaments or other gaming stores.
For example, here are some images of terrain from a recent game I played.


With the images in hand, you are now ready to create the PNG image. For this, I use Photoshop, so will take you through the process that I use.
Open Photoshop and open the file with your terrain image.

Click on the "Select and Mask..." button shown below.

The screen will change as shown below.

You can now use your cursor to "fill in" the terrain image. This will make the terrain image appear above the grid and show it has been selected, as shown below.

When you are finished, click OK and the image will appear as shown below.

As you can see, I have missed a bit of the wall on the ruins. You can just click on "Select and Mask..." once more and get the missing section. Click OK again and you should have your complete image.

If you make a mistake and add too much of the background, you can select the "-" symbol shown below to deselect sections of the image.

Once you are happy with the image, click on File > Export > Quick Export as PNG to create your image.

I normally give each image a name corresponding to the battle report. For example, the first piece of terrain for game 1 of the North West Open would be "NWO1-1", then "NWO1-2", etc.
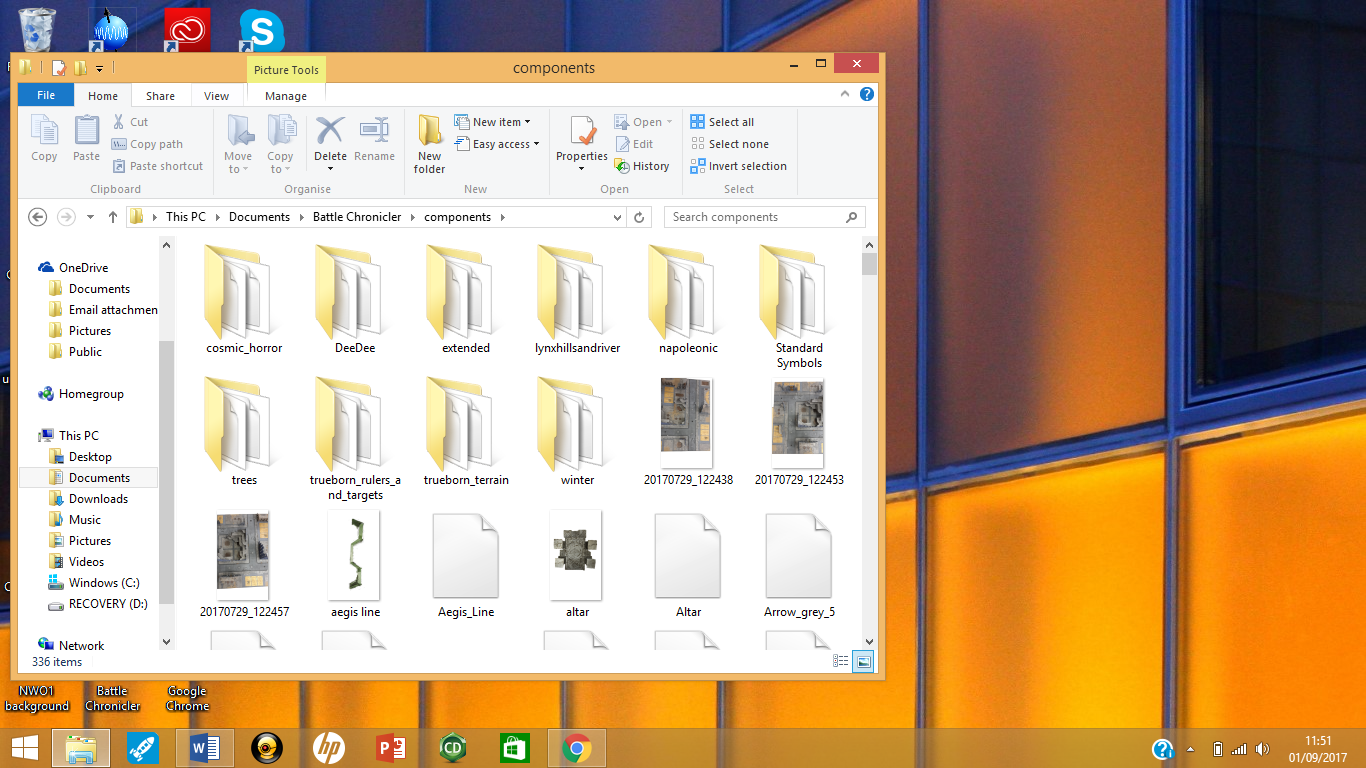
Once you have done all the terrain images you need, you have to transfer them to Battle Chronicler. You need to copy the PNG images into the "Components" folder of Battle Chronicler. These can be found under Documents > Battle Chronicler > Components.

Adding Components to Battle Chronicler
You can now open Battle Chronicler. Select "Components" from the Edit menu. Note, you cannot add components while you are making a new map, so you will need to save and edit any existing map before adding components.

With the components window open, you can select "New".

The following window will appear:

You can now fill in the appropriate details. I will start with the background image of one of my recent games. If you are using a battle mat for your games, you can either take a photo of the mat from above or get an image from the manufacturer's website. They normally provide topdown images of the mat and these are great for importing into Battle Chronicler. Note, you will still need to create a PNG image of the battle mat in order to import it.
In order to import a PNG image, select "Image" from the Fill Type menu and select the image you want.

 |
| Use this box to select the image file you want to use. |

With the image you want, there are a couple of more things to do. Name the image an appropriate name for your report.
Also, for background mats, I find it useful to modify the Opacity so that they do not overpower the map. I select an Opacity of 50% for background maps.

In addition, you want to change the default image size from inches to feet. Don't worry about the exact size too much, you can always re-size them on the maps.

When you are done, simply select "OK" and your new terrain image will be completed.
Now that the background has been done, you can do the rest of the terrain in the same fashion. Below you can see an example of one of the pieces from a recent battle report.

For the terrain pieces, I leave the Opacity at 100%, as this makes them stand out better on the maps.
So that is the process for adding your own terrain pieces to the map. I think this is worth the effort, as it makes it look a lot better than just the standard generic images and better matches the photos of your battles.
I hope you have enjoyed these two tutorials into how I create my maps for my battle reports. If you have an questions, please let me know in the comments below.
Lovely stuff Mike - I so need to get back into doing some battle reports! Bah, kids and painting getting in the way, haha!
ReplyDeleteYeah, need to see some of that tactical insight in action.
DeleteA summary batrep scheduled for tomorrow!
Delete3k marines vs ynnari - and a classic example of our old favourite - playing the mission!
Gotta always play the mission! Sometimes I don't even notice I have an opponent, I'm so busy playing the mission.
DeleteThanks! That is very useful if you have a chance to play with the similar pieces of terrain. I always hoped to take eagle eye view on the table at a tournament but never had time for it :D
ReplyDeleteIt is just another example showing that Battle Chronicler has a lot of to offer to spice up the diagrams for the battle reports!
Yeah, a big thanks for introducing me to it!
DeleteI am happy I did! You took using the great program to a completely new level :)
Delete